

Duration
± 2 hours
Tools
- Saw of your choice: mitre Saw, circular saw, jigsaw or handsaw
- Orbital sander with 120 grit sandpaper disc
- Power drill
- Tape measure and pencil
- 3mm wood drill bit
- 32mm spade drill bit
- Wood screws 4mm x 40mm (+/– 10)
- Medium spreader clamps
Materials
- Chalk paint or wood stain and paintbrush
- Wood glue
- Wood filler and scraper
- 5 matching glass bottles
- Cutting List:
- 1 x TP 22mm x 94mm x 1.8m
- cut to size as follows:
- 2 x 22mm x 94mm x 650mm
- 2 x 22mm x 94mm x 190mm
-
Step 1 Straight cuts
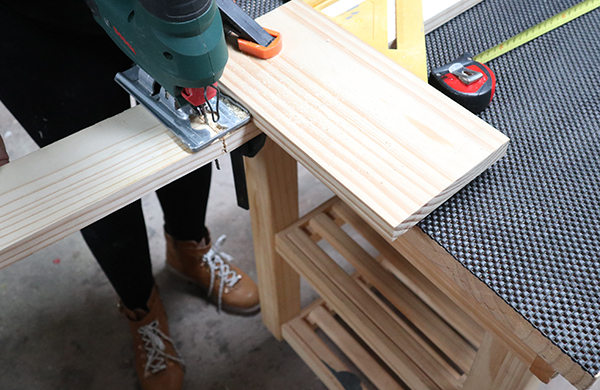
Use a handsaw, or a power tool such as a jigsaw, circular saw or mitre saw, to cut the PAR pine timber to size. Cut the multipurpose panel into the following sizes: – 2 x 22mm x 94mm x 650mm – 2 x 22mm x 94mm x 190mm Step 2- Sand Sand down the wood pieces until edges and surfaces are smooth, and wipe off excess sawdust.
-
Step 2 Sand
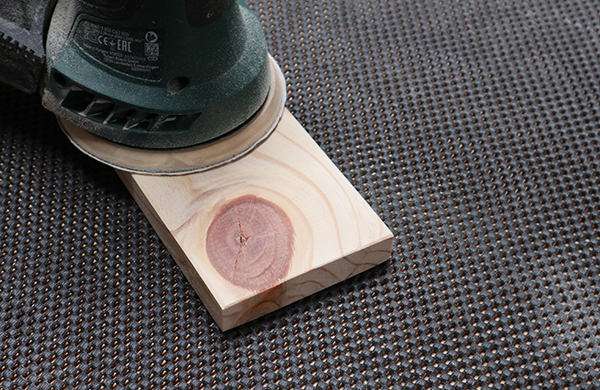
Sand down the wood pieces until edges and surfaces are smooth, and wipe off excess sawdust.
-
Step 3 Mark out drill guide lines
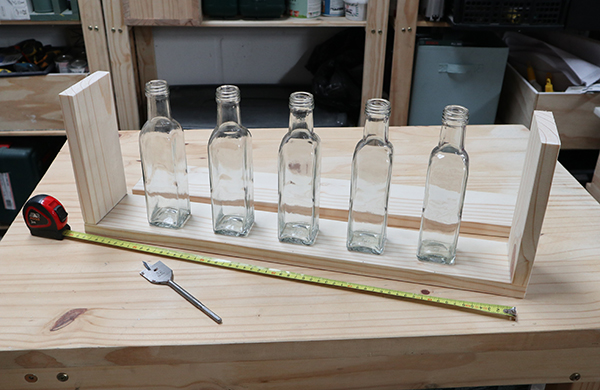
Lay out your project and all the cut wood in the final position to see whether all the pine pieces fit well together. To create the box vase that will house the glass bottles, equally space out the bottles along the bottom piece of wood (22mm x 94mm x 650mm). Mark the position of each bottle, so you can easily drill the holes for the bottle necks to slot into. Mark out drill guide lines on the joins of the box vase, to secure later with screws.
-
Step 4 Drill

Using the 3mm wood drill bit, drill pilot holes on the base within the lines marked along the side edges. You’ll need two pilot holes on each side of both 22mm x 94mm x 650mm pieces, so that the 22mm x 94mm x 190mm sides can be secured later with wood screws. To protect your work surfaces and limit wood splitting, place an old scrap piece of wood under the project base that you’re are drilling into. Insert the 32mm spade drill bit, and drill a hole in each marked-out bottle-neck slot – a total of 5 holes along the top 22mm x 94mm x 650mm wood piece.
-
Step 5 Paint/ Stain Finish
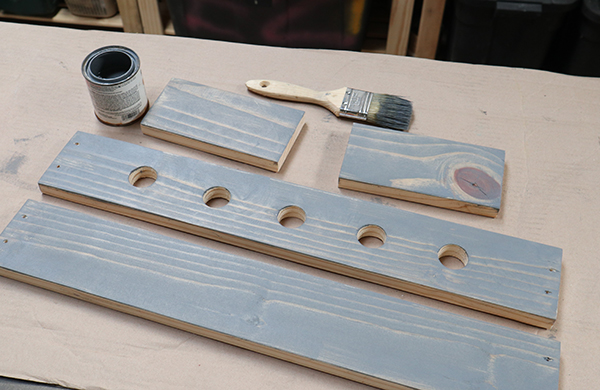
Use a wood stain/paint colour of your choice to paint the wood. To create an aged effect, use a dry brush to apply the paint, then, working in sections, wipe away some of the paint with a rag, so that the wood grain becomes visible. Apply only one coat for this type of look.
-
Step 6 Assemble
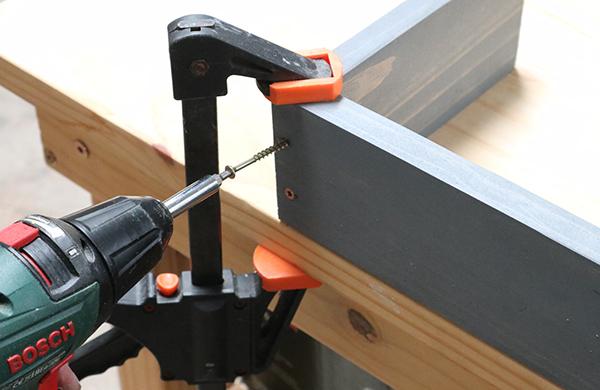
Apply wood glue to all four wood pieces where they will be joined, and use clamps to clamp into final positions. Insert a driver bit into the power drill, and drive the wood screws into the previously made pilot holes to secure the pieces together. Drill and push a little to sink the screw heads below the surface of the wood.
-
Step 7 Fill screw holes

Fill screw holes. Wipe away excess wood glue. Cover holes and screw heads with wood filler, allow to dry and paint in colour that matches the rest of the surface. Insert the glass bottles at an angle so that just the top part of each neck is held in position, and slide the bottles into the holder. Now you’re ready to place real (or faux) flowers in your DIY wood and glass-bottle vase.


