

Duration
± 2.5 hours
Tools
- Saw of your choice: mitre saw, circular saw, jigsaw or handsaw
- Orbital sander with 120 grit sandpaper disc
- Measuring tape and pencil
- Stencil, paintbrush and 32mm paintbrush
- Safety gear, gloves and glasses
Materials
- Pine posts 69mm x 69mm +/- 700mm cut into cubes
- A scrap square as base 32mm x 208mm x 208mm
- Pine cover strips for edging cut to size (209mm lengths x 4)
- Wood glue and two long clamps
- Wood stain and white PVA Paint
- Clear sealer
- X and O stencils
-
Step 1 Measure cubes
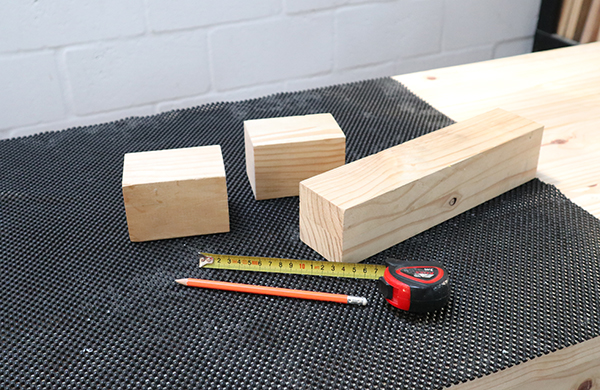
Use a pencil and measuring tape to mark cubes that are 69mm x 69mm.
-
Step 2 Cut
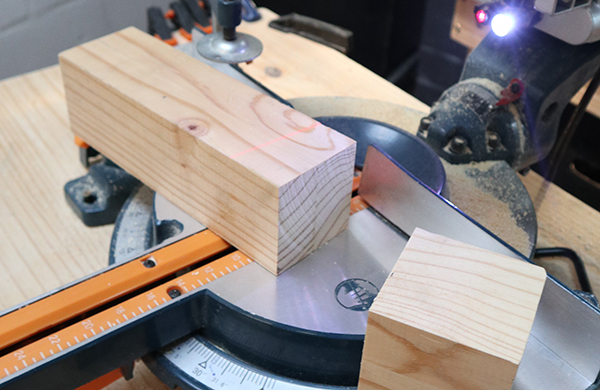
Using a compound saw, make straight cuts and cut 9 x cubes from the scrap pine posts.
-
Step 3 Sand
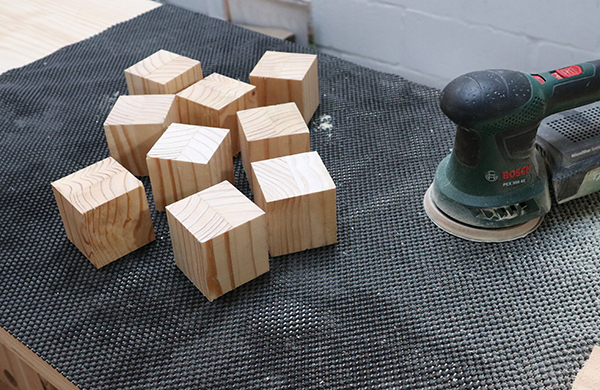
Lightly sand down the surfaces, then use the sander to round the corners and edges of each cube. Wipe off excess sawdust.
-
Step 4 Stain, paint and stencil

Lay out your project on a drop sheet. For this project, a natural wood stain was applied to all the cubes. Apply 2 coats for a rich finish. To mark the X and O on the cubes, make use of a stencil, and paint on the cube using a stencil brush and white paint. A clear exterior or interior sealant can be applied to the project.
-
Step 5 Make the base to hold the cubes
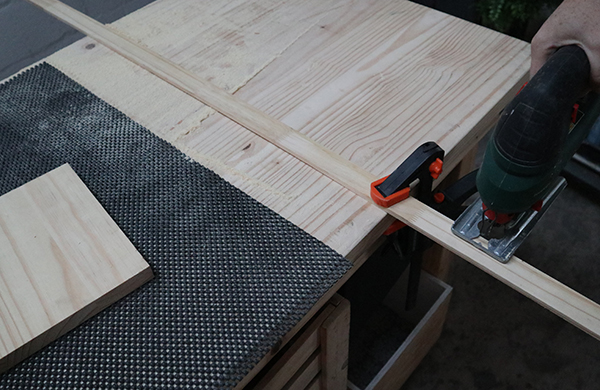
Cut a piece of pine wood to the size 32mm x 208mm x 208mm to hold the cubes, then cut pine cover strips to size and use wood glue to secure to the edges of the base. Stain/paint to match the cubes.


