

Duration
± 1 day
Tools
- Power Drill
- Orbital Sander
- Pocket Hole Jig and Pocket hole drill bit and driver bit
- Compound Mitre saw
- Circular Saw
- Router (optional)
Materials
- (include SKU)
- 6 x TP 22 x 144 x 1.8 m PAR (Table Top)
- 1 x TP 69 x 69 x 3.0 m PAR (Legs)
- 1 x TP 22 x 44 x 3.0 m PAR (Middle under Stretchers/ Braces)
- 2 x TP 22 x 69 x 2.4 m PAR (Table side Aprons)
- Box of pocket hole screws 32mm
- Pocket hole clamps or large spreader clamps
- Interior wood stain
- Clear sealer
- White Chalk Paint
- Paint brush 50mm and 110mm Sponge Roller
- Wood Glue
- Pencil and tape measure
- Speed square and small level
-
Step 1 Cut to size
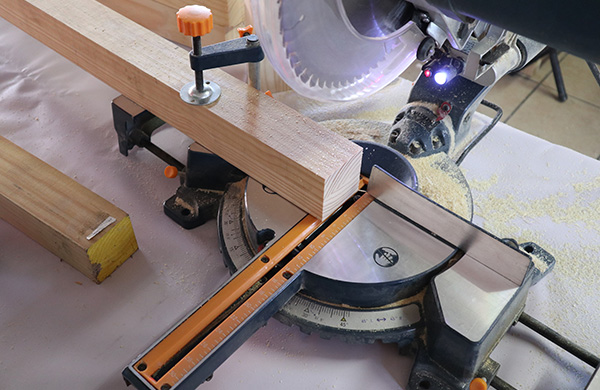
Use a compound mitre saw to cut all of the wood pieces to size, except for the table top, that will be cut to size later on when the table top is complete. You can also opt for a hardware or home improvement store to cut the wood to size for you.
-
Step 2 Sand
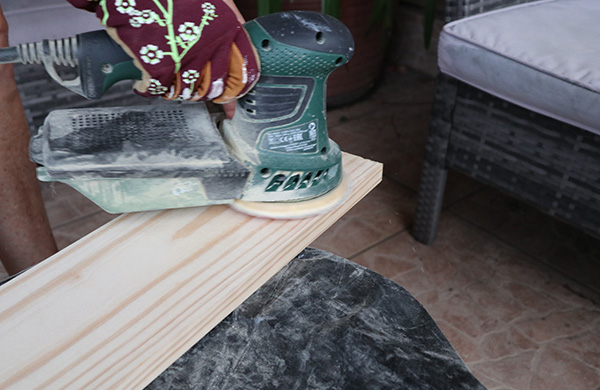
Use an orbital sander with a grit sanding disc of 100 grit and lightly sand all the wood surfaces smooth and wipe away excess saw dust.
-
Step 3 Add pocket holes (Part 1 )
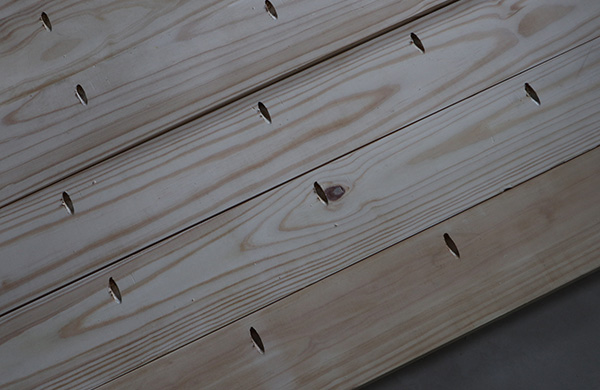
Add pocket holes to the various joins of the dining table build. First start with the table top. On one side of each of 5 of the 6 pine timber slats ( 6 x TP 22 x 144 x 1.8 m PAR) add a pocket hole, horizontally, every 25cm down the length of the timber, making sure all the pocket holes made are facing the same side and direction.
-
Step 4 Add pocket holes (Part 2 )
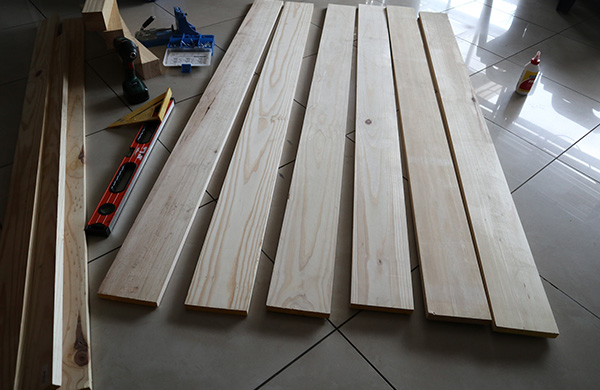
As these pocket holes will not be seen under the table top when the various pine slats are secured together with pocket screws. Then add 2 side by side pocket holes vertically on either end (facing the same side) on the 4 x Apron pine wood pieces of timber and on either end of the 3 x pine stretcher pieces. These table aprons sides will be secured with pocket holes to the legs of the table. The stretcher pieces will be secured to the inner sides of the longer aprons (See image of the dining table facing up). Remember to add 4 evenly spaced pocket holes horizontally to the sides of the aprons on all 4 pieces as this is how the table top will be secured to the main “frame” of the table.
-
Step 5 Secure with Pocket screws (Part 1)
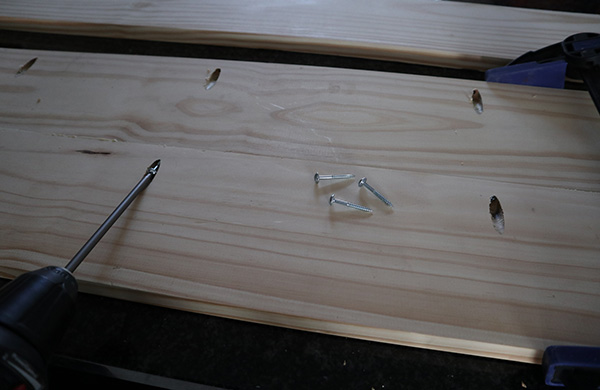
Start securing your table top slats together, one into the next by driving in pocket holes with the driver bit inserted into the power drill. Line up and make sure that each slat 22 x 144 x 1.8 is straight and inline with the next. Apply wood glue before driving in the pocket screws into the pocket holes and make use of clamps to hold slats in place or have an extra pair of hands to help. Pocket hole and wood glue the entire table top together, set aside and give a final light sanding.
-
Step 6 Secure with Pocket screws (Part 2)
Next is secure the shorter and longer aprons to the ends of the table legs, in this project the middle of the wood apron thickness mark was lined up with the middle mark of the table leg thickness measurement. Or use a spacer on all joins, like a off cut piece of wood. Secure the middle stretchers or braces evenly in the middle of the table frame, flush and in the middle of the two longer apron wood pieces of 1612 mm in length.
-
Step 7 Table top trim
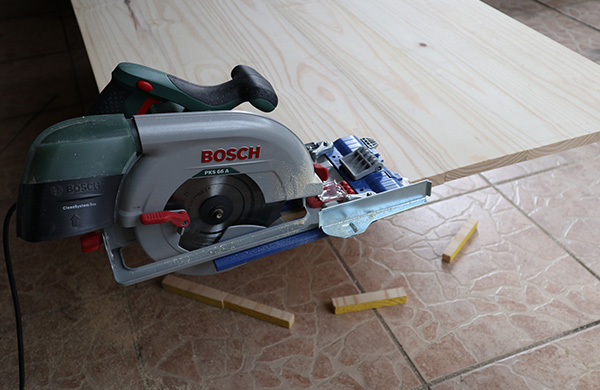
Use a circular saw and make a straight marking on either end of the table top length of approximately 2.5 cm and cut the yellow rough edges off from the COL pine wood. Optional step: Next you can use a router if you would like to give your table top a rounded finished edging. Or you can gently edge any sharp edges / conners with a sander.
-
Step 8 Paint and seal
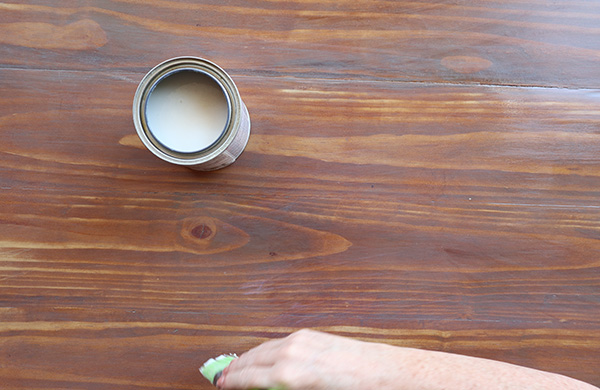
In this project a white chalk paint was used to paint the table “frame” (Legs and aprons) and a wood stain was used to paint the table top. For extra protection after the paint and stain has fully dried, apply a top coat clear sealer. Make use of a sponge roller, drop sheet and paint brush. The table top and table frame were painted separately and were allowed to fully dry before the final assembly of the top to the frame.
-
Step 9 Assemble the table top to the frame
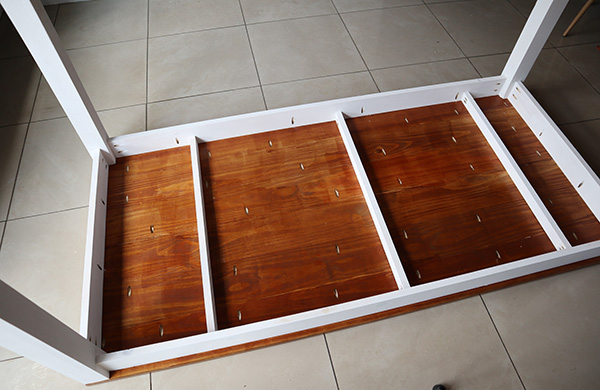
Use a power drill, some wood glue and pocket hole screws to line up the table top to the frame of the table and drive in the screws o the pocket holes made on the inner sides of the table aprons facing “up” Turn your DIY Dining table the right way and by using pocket holes all the pocket holes will not be visible as they are under and facing the inside of the table. Enjoy your newly custom-built DIY dining table.


