

Duration
± 2 hours
Tools
- Router and round-over bit
- Orbital sander with 120 grit sandpaper disc
- Paintbrush, mini sponge roller and tray
Materials
- 1 x COL Timbers Flat-Pack Coffee Table
- Wood stain and white PVA paint
- Clear sealer (Exterior use)
- Stencil
- Masking tape
- White spray paint with built-in primer
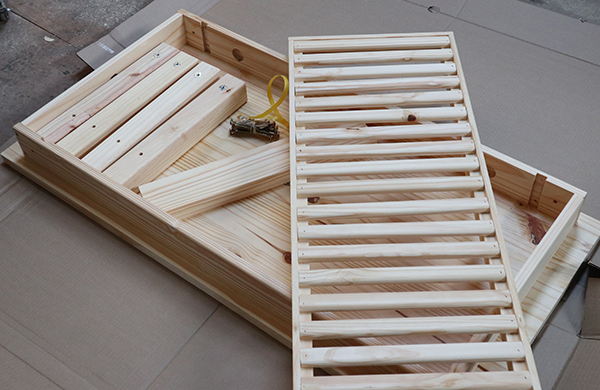
Note: COL coffee tables comes with the hardware needed for assembly. Our new flat-pack coffee tables are easy to assemble and customise.
-
Step 1 Router the edges
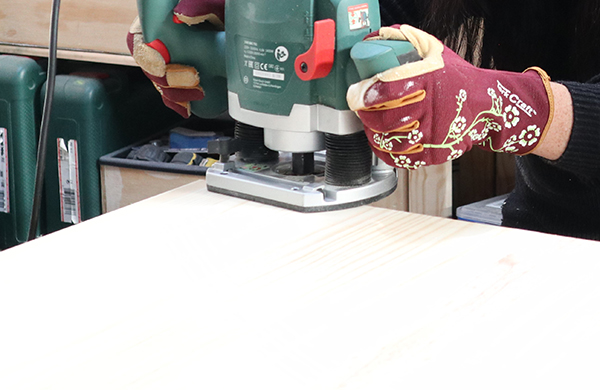
Router the edges of the tabletop to give them a rounder shape.
-
Step 2 Sand
Lightly sand down the tabletop surface, and wipe off excess sawdust.
-
Step 3 Stain and paint
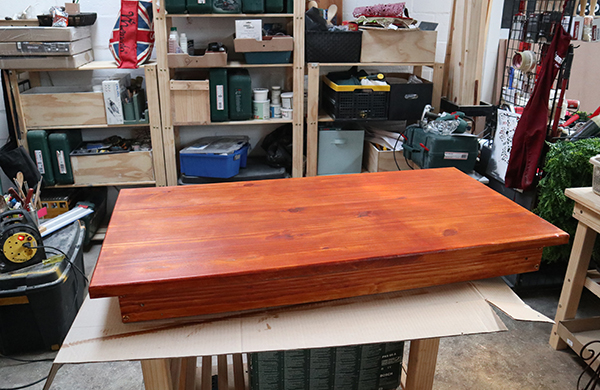
Lay out your project on a drop sheet and decide which sections you want to stain, and which sections you want to paint in a colour. For this project, three coats of natural wood stain were applied to all sections, including the legs and tabletop, for a rich finish. The slatted pine shelf of the coffee table is easier to spray paint, so a white spray paint (with a built-in primer) was used to cover the surface of the shelf. Two coats where applied, and sealed later with clear exterior sealer.
-
Step 4 Stencil
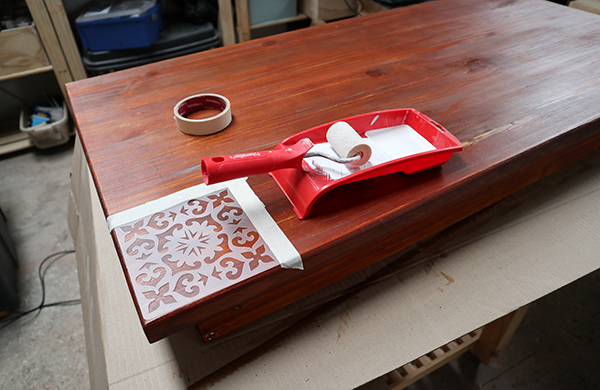
Use masking tape, a mini sponge roller and a stencil of your choice, create a border on the stained table top. Make sure you load the paint on the roller then roll off the excess on a piece of board – to prevent too much being applied, and to eliminate bleeding through the stencil.
-
Step 5 Assemble
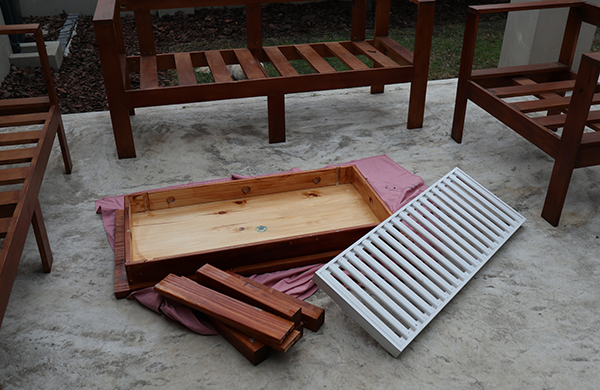
Following the instructions included with your COL Timbers Flat-Pack Coffee Table, attach the legs and slatted shelf with the screws and Allen key supplied.


