

Duration
± 4 hours
Tools
- Saw of your choice: mitre saw, circular saw, jigsaw or handsaw
- Orbital sander with 120 grit sandpaper disc
- Power drill
- Paintbrush
- Measuring tape and pencil
- Safety gear, gloves and glasses
Materials
- COL Timbers 900mm x 600mm Flat-Pack
- Workbench/Workstation Table
- Wood stain and water-resistant clear sealer
- Wood filler
-
Step 1 Measure
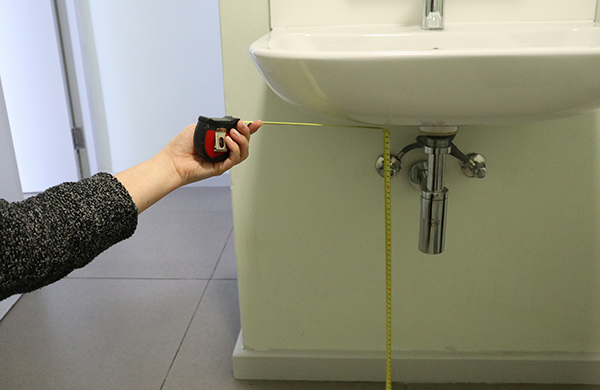
Using a measuring tape, measure the height of the bathroom sink from the floor to the bottom of the sink. Also measure the width of the plumbing and how far it extrudes from the wall, as well as the space around the sink, to determine the size of workbench that will be required. For this particular bathroom sink, a 900mm x 600mm COL Timbers workbench was used.
-
Step 2 Cut the legs to size
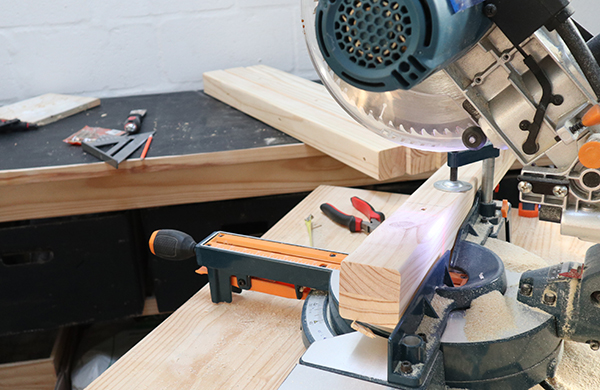
Depending on its height, the sink could be positioned just right for the workbench – but it might also be too high, meaning that the workbench would not “surround” the sink like a bathroom countertop. This was the case in this DIY project. The legs of the workbench had to be cut to the exact height measurement to the bottom of the sink (taking the height of the tabletop into account as well). Once the legs are attached to the tabletop, mark out the correct measurements of what needs to be removed to match the sink height. Use a compound saw to cut the four workbench legs to size, discarding the offcuts reattach the legs to the tabletop using the Allen key and screws provided in the flat-pack.
-
Step 3 Mark out the sink pipes
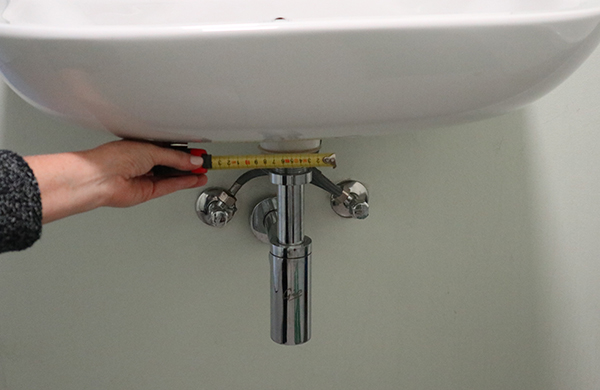
The workbench table is now at the perfect height and fits just under the sink. A slot has to be marked out so that the workbench can slide over the sink pipes and sit flush against the wall. Place the workbench under the sink, against the pipes, and in the correct position. With a pencil, mark the spot on either side of the drainpipe where it touches the “back” of the workbench. Add all the pipe width measurements to the markings – ensure that they are equal on either side of centre-point. This is the slot that will be cut out and removed so that the workbench table can fit around the sink pipes.
-
Step 4 Cut Slot
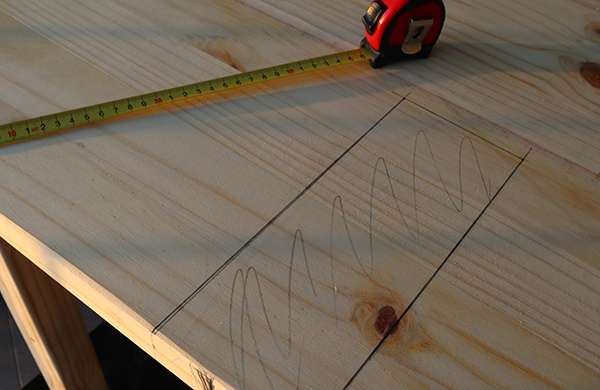
Using both a jigsaw and handsaw, cut the marked-out slot out of the workbench. Here, the jigsaw was used for the tabletop cut, while the handsaw was used for the apron of the workbench.
-
Step 5 Sand

Lightly sand down the surface of the tabletop as well as the slot edges, and wipe off excess sawdust.
-
Step 6 Stain, paint and seal
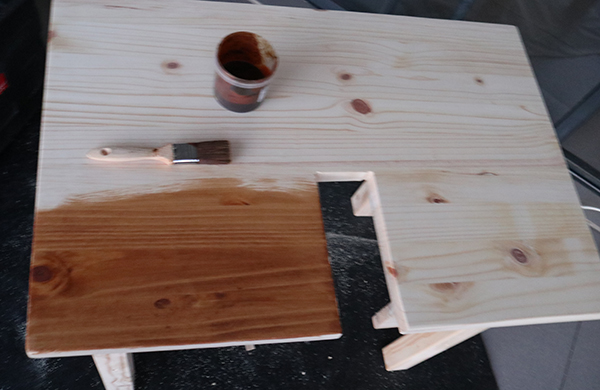
Lay out your project on a drop sheet. For this project, two coats of a natural wood stain were applied with a paintbrush for a rich finish. A clear, water-resistant sealer should be applied after the stain has dried, to ensure the workbench vanity is protected from water splashes and moisture in the bathroom.
-
Step 7 Readjust slat shelves
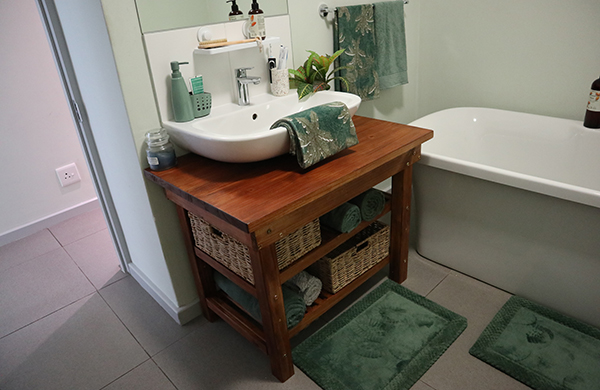
With the original legs being cut to a shorter size to fit under the sink, the two wood slat shelves have to be readjusted and replaced in new positions under the tabletop between the legs. For this project, new drill holes were measured and made with an 8mm wood drill bit, and the original pre-drilled holes were covered with wood filler and painted/stained over.


